
Homemade Fruit Leather: Turning Peak Season Fruit Into Shelf-Stable Snacks
A sweet way to preserve peak berry season
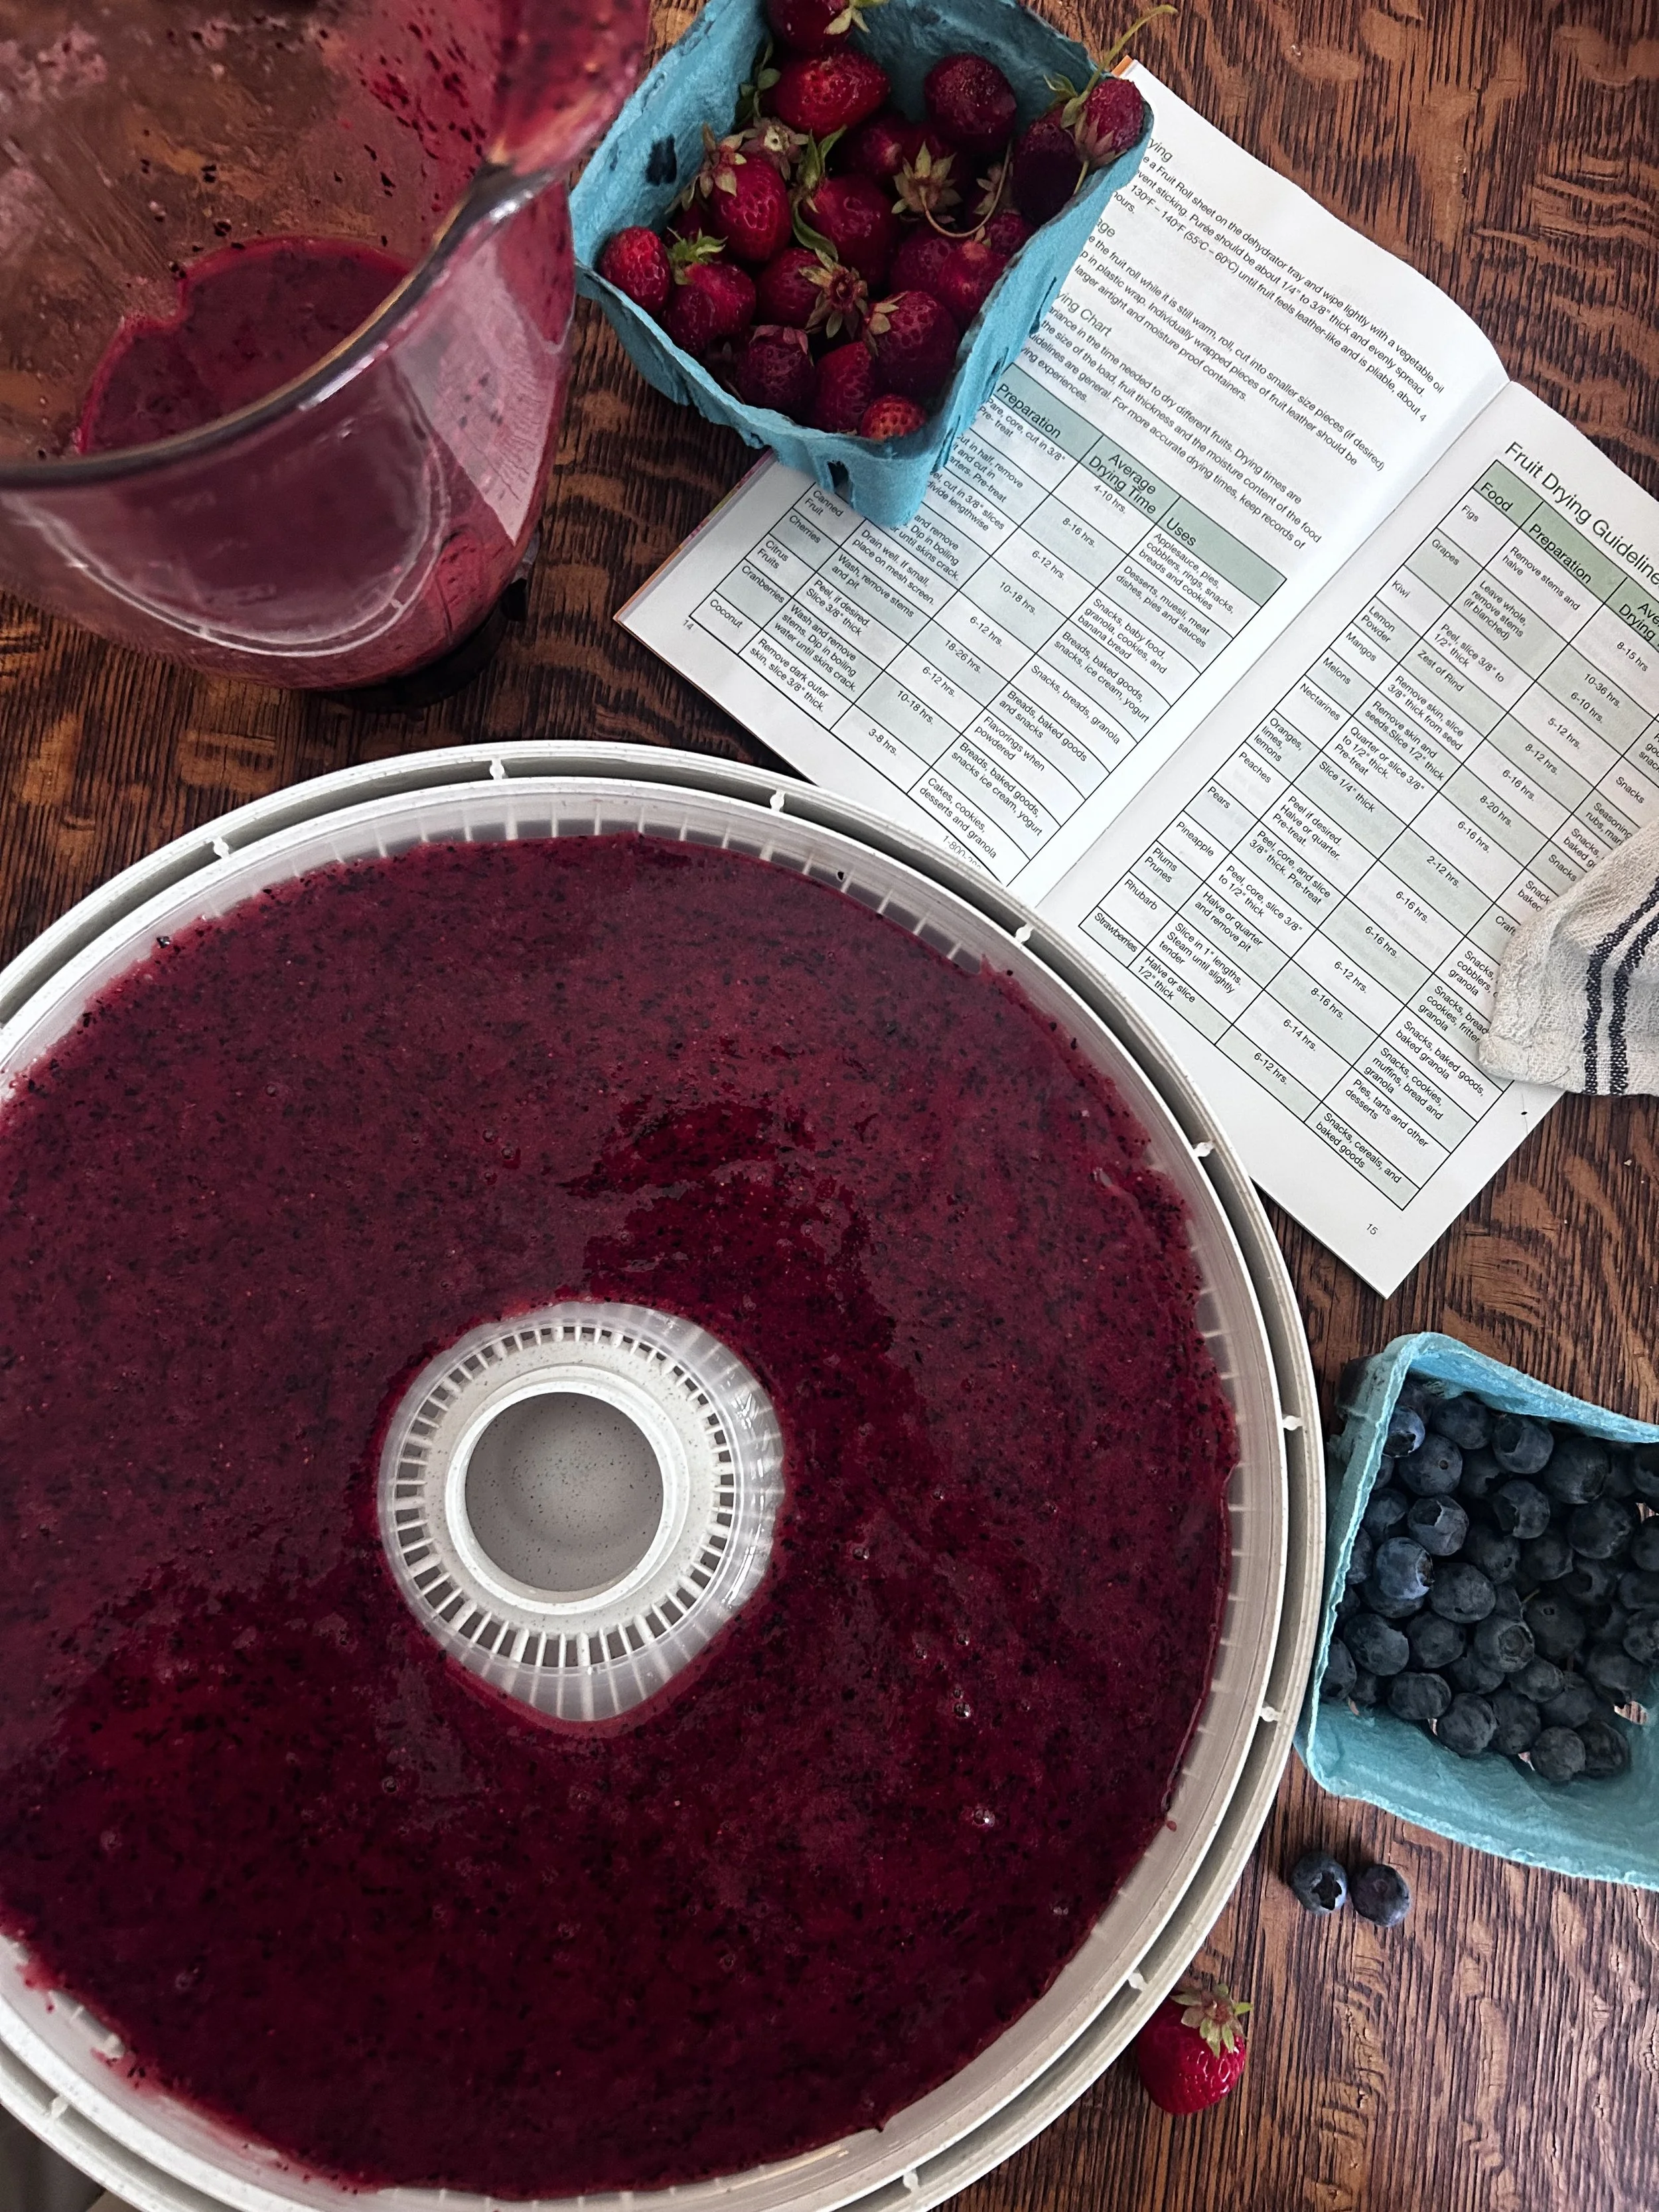
There’s something deeply satisfying about turning overripe fruit, backyard berries, or farmers market abundance into homemade fruit leather. It’s one of the easiest ways to preserve fruit without needing complicated equipment or a pantry full of jars. Plus, it feels a little magical watching fresh fruit transform into chewy, sweet, tangy strips that taste like summer.
Fruit leather is also one of our favorite low-waste kitchen projects. Those bruised strawberries, soft peaches, extra applesauce, or overflowing freezer berries? Perfect candidates.
Whether you’re packing snacks for hikes, road trips, lunch boxes, or simply trying to reduce food waste, dehydrated fruit leather is approachable, affordable, and endlessly customizable.
Why Make Fruit Leather?
Fruit leather is:
A great way to preserve ripe fruit before it spoils
Lightweight and shelf-stable
Easy to make with a dehydrator or oven
A customizable snack without the additives found in many store-bought versions
Perfect for mixing flavors, herbs, and spices
According to Oregon State University Extension, extra ripe fruit that may not work well for canning actually makes excellent fruit leather.
Best Fruits for Fruit Leather
Almost any fruit can become fruit leather, but some favorites include:
Strawberries
Apples
Pears
Peaches
Apricots
Plums
Blueberries
Blackberries
Cherries
Applesauce is especially useful because it adds natural pectin and helps create a smoother, more pliable texture.
You can also mix fruits together:
Strawberry rhubarb
Peach raspberry
Apple blackberry
Pear ginger
Cherry vanilla
Basic Fruit Leather Method
What You’ll Need
4 cups fruit
Lemon juice
Blender or food processor
Dehydrator trays with fruit leather sheets (or parchment-lined baking sheets)
Step 1: Prepare the Fruit
Wash and chop fruit, removing stems, pits, or tough peels if needed. Blend until smooth.
For lighter fruits like apples or peaches, add a little lemon juice to help prevent browning. Oregon State University Extension recommends using vitamin C or citrus juice as an anti-browning agent.
Step 2: Taste and Adjust
Taste the puree before drying. Depending on the fruit, you may want to add:
Honey
Maple syrup
Cinnamon
Ginger
Vanilla
Cardamom
Very ripe fruit often needs no added sweetener at all.
Step 3: Spread Thinly
Spread the puree about 1/8-inch thick onto dehydrator sheets or parchment paper.
Try to keep the layer even so it dries consistently.
Step 4: Dehydrate
Dry at about 135–140°F until the leather is no longer wet or tacky in the center. Most fruit leathers take around 6–12 hours depending on thickness and humidity.
The finished leather should feel pliable and peel away easily.
Step 5: Store
Cut into strips and roll them up. Store in airtight containers in a cool, dark place.
For longer storage, freeze them.
Tips for Better Fruit Leather
Blend thoroughly for the smoothest texture
Use applesauce to help loose berry mixtures hold together
Rotate dehydrator trays for even drying
Don’t spread too thick or the center may stay sticky
Slightly overdried is better than underdried for storage safety
A Seasonal Kitchen Tradition
Fruit leather is one of those preservation projects that feels both practical and joyful. It invites experimentation, creativity, and connection to the seasons. Every batch tastes a little different depending on what’s ripe, abundant, and available.
It’s also an excellent project for kids, beginning preservers, and anyone curious about building a more resilient kitchen practice.
Learn More from OSU Extension
Oregon State University Extension has excellent free resources on safe food dehydration, fruit leather techniques, and home food preservation.
You can explore their guide here:
OSU Extension: Drying Fruits and Vegetables
And their apple fruit leather dehydration tutorial here: